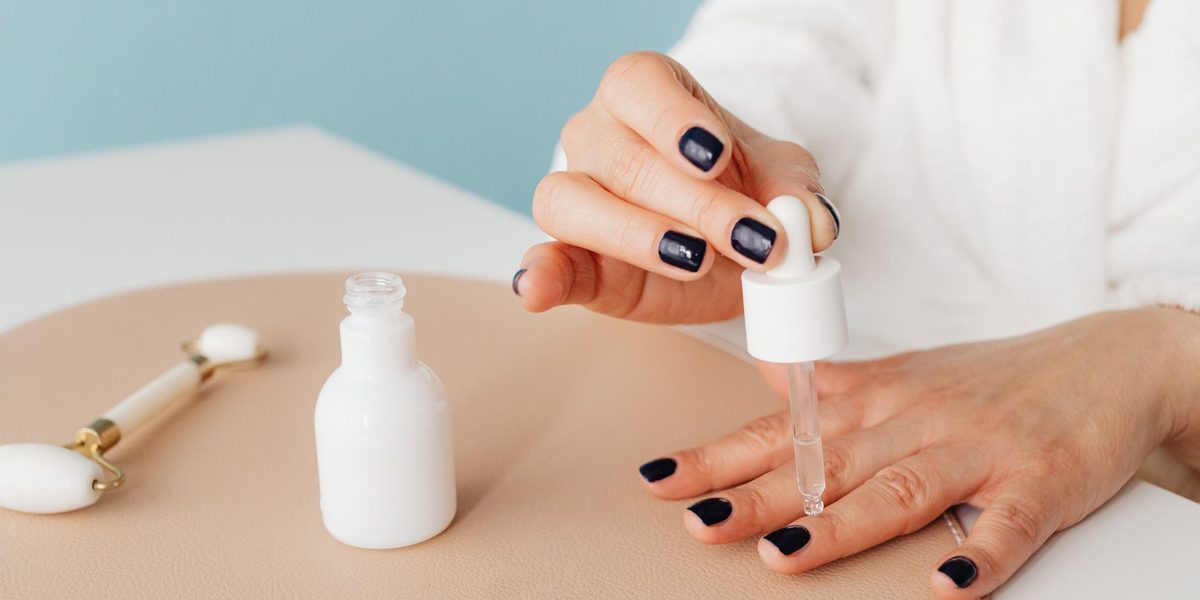
The difference between a home manicure that looks homemade and one that looks professionally done is rarely talent, and it is almost never expensive polish. It is process. Salon technicians follow a sequence — preparation, shaping, cuticle work, thin coats, clean edges, patience — and every step quietly contributes to that crisp, finished look. All of it can be reproduced at your kitchen table with a modest kit and twenty unhurried minutes. Here is the full method, from bare nails to a finish that holds up, along with the habits that keep your natural nails strong between polishes.
Build a Small Kit That Covers Everything
Professional results start with having the right few tools, and the list is shorter than the nail aisle suggests. A quality file — glass or a fine-grit emery board — shapes without shredding. Clippers handle length, a soft buffer smooths ridges, and a wooden or rubber-tipped cuticle pusher manages the nail frame. On the polish side you need four bottles: base coat, your color, top coat, and remover, plus cuticle oil and a rich hand cream for aftercare.
That is genuinely the whole kit. What you can skip: metal cuticle nippers unless you are experienced, since overcutting causes most home manicure injuries; coarse files that leave edges frayed; and the dozens of near-identical colors that crowd out maintenance basics. A small, complete kit used correctly beats a drawer of products used randomly.
Preparation Is Half the Manicure
Polish adheres to clean, dry, oil-free nails — and almost every peeling problem traces back to skipped prep. Start by removing every trace of old polish, including the faint tint that hides at the edges. Wash your hands, then shape your nails while they are dry; wet nails are soft and prone to tearing when filed.
File in long strokes moving mostly in one direction rather than sawing back and forth, which frays the nail's layered structure. Choose a shape that flatters your fingers and survives your lifestyle — shapes that follow the natural curve of your fingertip are the most break-resistant. Then lightly buff the surface just enough to erase shine, and finish prep by swiping each nail with remover or alcohol to strip residual oil. That final degreasing swipe is one of the smallest, most skipped, most important steps in the entire process.
Cuticle Care: Gentle Hands, Big Payoff
Nothing marks a manicure as professional like a clean, pushed-back cuticle line — and nothing invites trouble like attacking it. The cuticle area protects the matrix where new nail is made, so the goal is tidying, not removal. After a shower, or after soaking fingertips in warm water for a few minutes, apply cuticle oil or softener and gently push the softened skin back with a wooden stick or rubber pusher. Ease up at the first hint of tenderness.
Trim only the loose, dead hangnail bits that stand away from the skin, never the living seal at the nail base. Cutting into live cuticle invites redness, infection, and ragged regrowth that makes every future manicure harder. Done gently once a week or so, cuticle maintenance becomes a thirty-second task that dramatically upgrades how your hands look even without polish.
The Painting Technique That Changes Everything
Salon-crisp color comes from one principle: thin coats, fully dried, beat thick coats every single time. Thick polish stays soft underneath for hours, dents at the slightest touch, and peels in sheets. The professional sequence looks like this:
- Base coat: one thin layer to grip the nail and prevent staining. Let it dry a few minutes.
- Color, coat one: wipe one side of the brush on the bottle neck, place the brush near the base, nudge it toward the cuticle without touching it, then pull to the tip — one stripe down the center, one along each side. Sheer coverage is fine.
- Color, coat two: after several minutes, repeat for full depth. Swipe the brush across the nail's front edge to cap the tip, which visibly delays chipping.
- Top coat: one thin glossy layer, re-capping the tip. This is the armor; refreshing it every two or three days can double a manicure's life.
Mistakes happen to everyone — professionals included. The fix is a small flat brush or cotton-wrapped stick dipped in remover, run along the skin around the nail. That cleanup pass, more than anything else, creates the crisp outline people read as salon work.
Drying: Where Patience Pays
Most ruined home manicures die in the first hour. Polish dries to the touch quickly but hardens fully over many hours, and every smudge, sheet mark, and mystery dent happens in that vulnerable window. Give yourself at least twenty to thirty minutes of genuinely careful behavior after the top coat — no rummaging in bags, no tight jeans buttons, no texting marathons. Quick-dry drops or sprays are inexpensive and legitimately helpful; a blast of cold air helps a little, while hot air slows things down.
Better yet, schedule around it: paint your nails when the next hour is naturally low-risk, like during a show in the evening. Treating drying time as part of the manicure, rather than an inconvenience after it, is a habit that separates consistently good results from constant do-overs.
Between Manicures: Caring for the Nail Itself
Professional-looking nails are mostly healthy nails, and health is built between polishes. Nails are made of keratin and respond badly to two things above all: constant water exposure and mechanical abuse. Wear gloves for dishes and cleaning — detergents and long soaks swell and weaken the nail plate. Stop using nails as tools for prying, scraping, and peeling labels; that habit alone causes a remarkable share of breaks and splits.
Daily cuticle oil, massaged in at bedtime, keeps nails flexible and far less prone to cracking, and hand cream after each wash protects the surrounding skin. Give nails an occasional polish-free stretch to check their condition, and keep remover sessions efficient rather than frequent. If your nails are persistently brittle, ridged in new ways, discolored, or lifting from the nail bed, those can signal nutritional gaps or medical issues — worth a conversation with a healthcare professional rather than another coat of strengthener.
Troubleshooting the Classic Failures
Chipping within a day usually means oily nails at application or an uncapped tip — repeat the degreasing swipe and cap the edge. Bubbles come from shaking the bottle or thick coats; roll the bottle between your palms instead and thin out your layers. Peeling in whole sheets points to skipped base coat or wet filing. Streaky color wants a third thin coat, not one heavy one. Smudges can often be smoothed with a drop of remover on a fingertip before re-topping — a quieter fix than starting over. Every failure has a boring, mechanical cause, which is good news: boring causes have reliable fixes.
Final Thoughts
A professional-looking manicure is a sequence, not a secret: prep until the nail is clean and oil-free, respect the cuticle, apply thin patient coats with capped edges, clean up the outline, and protect the result while it truly dries. Add weekly cuticle oil, gloves at the sink, and a refusal to use nails as tools, and your hands will look salon-kept on a home-kit budget — not occasionally, but as a matter of routine.